The Run Ending and Death Route Tracking Template: How to Use the Story Map
Methods for recording The Run’s story map, death nodes, choice modes, and ending routes, without providing unverified trigger answers.
Introduction
When recording routes in The Run, you can separate local failures from longer routes to endings: first establish a main route record, then work backward from the ends of the story map to organize failure nodes, and finally compare other endings from later branching points. This article provides a recording method, without giving ending or death counts that have not been confirmed by official sources.
Establish a Main Route on Your First Playthrough
Choose one control mode and complete the entire route, recording map nodes, timed choices, QTEs, and the ending. Do not deliberately disrupt the pace of your first playthrough to collect deaths.
Organize Death Nodes from the Ends of the Map
After completing the game, verify nodes in reverse order, starting with those closest to the ending. Test only one failure action at a time, and record whether it counts, whether you can immediately return to the map, and whether it unlocks an achievement.
| Node | Mode | Failure condition | Does it count? | Return location |
|---|---|---|---|---|
| Custom ID | Current mode | Fill in when recording | Unconfirmed/Confirmed | Fill in when recording |
Then Compare Different Endings
First change the decision closest to the ending; if the result stays the same, gradually move backward. When two routes return to the same shot, also check character attitudes, resources, and subsequent dialogue. You cannot judge whether a branch is merely apparent from the visuals alone.
How to Use the Two Modes
If the current version offers choice options such as timed and paused choices, you can choose timed choices to preserve the pressure on your first playthrough, while using an option that facilitates discussion for route tracking, livestreams, or gatherings. Do not assume different modes only affect pacing, and do not claim they change achievements or endings without an in-game explanation.
Route records should prioritize the ending names displayed in the game, with separate columns for death triggers, story map state inheritance rules, and rollback locations. Keep items unanswered by public pages marked as “unknown”; do not invent answers to fill the table.
Why Work Through Deaths Before Pursuing Longer Ending Routes
Deaths often occur after a single action or a nearby choice, making them suitable for collecting backward from leaf nodes using the story map. Endings usually depend on a longer chain of states, and frequent interruptions make prerequisites and resources difficult to control. Mixing these two goals in one playthrough can cause players to replay large amounts of shared content for a single local death.
After completing a baseline route, players can usually identify more easily which nodes converge, which areas remain unexplored, and where they return after a failure. Planning local cleanup afterward is more orderly than blindly guessing every possible failure from the opening.
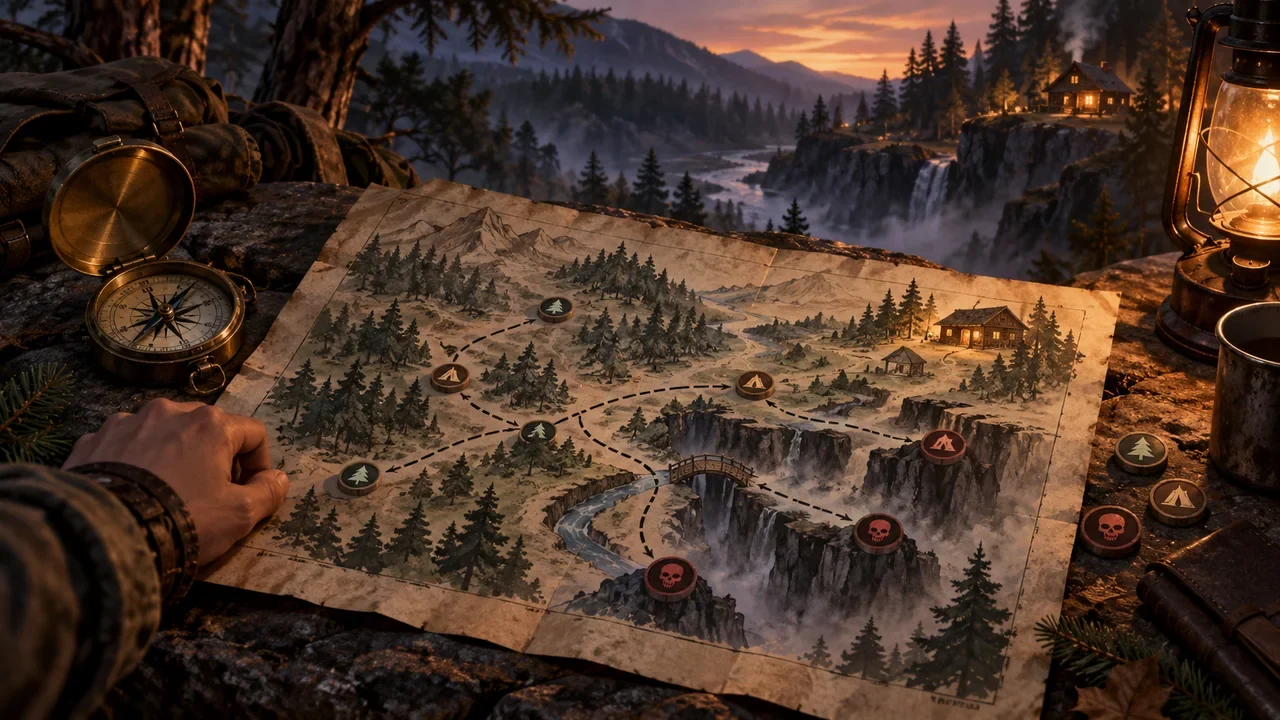
How to Annotate the Story Map
Add five types of tags to each node: death, ending, convergence, prerequisite state, and direct restart available. For death nodes, specify the last controllable action; for ending nodes, write the official name; for convergence nodes, record which previous states remain.
If the map only shows visited paths, you can create abstract annotations using plain-text IDs and indentation levels. What readers really need is route relationships, prerequisite states, and return locations, rather than a direct copy of the game interface.
Verification Order for the Two Modes
If the version does offer multiple ways to make choices, you can first organize the options using a method that makes recording easier, then compare the same route using another method. If the results differ, determine whether the difference comes from the mode, the default action on timeout, or the actual timing of the choice. Do not assume in advance that the two modes only affect pacing.
For livestreams or gatherings, also record the voting window. Platform delays may mean the countdown has already ended when viewers see the options. This is a condition of the experience and should not be described as an error in the player’s judgment.
Is Every Death Worth Collecting?
When recording, distinguish between distinct narrative deaths, variations in the presentation of the same danger, and purely mechanical failures. Their replay value depends on whether they reveal new rules, character information, or paths. If some failures only change the presentation, state this accurately instead of exaggerating the differences to make the list look more extensive.
Delivery Standards for the Final Route Map
Each entry should include the map location, prerequisite state, action, triggered result, return location, and version recorded. For each ending, also note whether it can be accessed directly from a chapter, whether full state inheritance is required, and a safe recording point later in the route. A route template is only complete when others can understand the recording logic by following the table.
Sources
- The Run — Steam (Checked: 2026-09-22)
How to Verify Death Routes Without Missing Any
Assign an ID to each death and record the trigger node, input, prerequisite state, whether the animation played in full, unlocked content, and nearest reload point. Failures that look identical should initially be recorded separately if their trigger conditions or new information differ; merge them only after confirming that the system treats them as the same ending. Conversely, a different shot with no new condition or reward should not be counted again just to increase the total.
Start testing with local action failures, then check resource depletion, route decisions, relationship states, and final-stage combinations. Running short paths first lets you quickly confirm the controls and recording method, while branching saves reduce repetition for longer-term conditions. Change one variable at a time so that changing the mode, items, and options together does not leave you unable to identify the actual trigger.
“Every Death” Is Not the Only Goal
If a death involves intense violence, fear, or flashing imagery, check the content notices and accessibility options first; there is no need to force yourself to watch it for collection purposes. A guide can explain skipping, lowering the difficulty, or alternative unlock methods, but cannot assume every player is willing to experience the same content.
The final checklist should distinguish results personally reproduced, confirmed by official pages, and reported only by the community, and state the verification date. After version updates, prioritize retesting routes with complex conditions, previous errors, or difficulty-related requirements. This makes “complete collection” auditable, instead of treating an unverified list as proof of completion.