After Choosing a Style, How to Write It for the Team: Turn References into Stable Text Constraints
After choosing a style, what you show the team is not the name of a reference work, but a text specification that can be checked item by item. The method is: first use one sentence to lock down the overall judgment of the style, then break down color tone, materials, light sources, and detail density into observable descriptions, and finally use a "can keep / can change" table to draw the boundaries of expression. Below, we walk through the fictional teaching example "Rainy Port Retro Style"; all names, numbers, and dialogue are fictional and do not correspond to any real project.
Introduction
After choosing a style, what you show the team is not the name of a reference work, but a text specification that can be checked item by item. The method is: first use one sentence to lock down the overall judgment of the style, then break down color tone, materials, light sources, and detail density into observable descriptions, and finally use a "can keep / can change" table to draw the boundaries of expression. Below, we walk through the fictional teaching example "Rainy Port Retro Style"; all names, numbers, and dialogue are fictional and do not correspond to any real project.
Step 1: Replace the reference name with a judgeable summary
Writing only "like a certain old movie" is useless, because everyone remembers a different frame. First write the summary, and require it to include the sense of era, the sense of climate, and the emotional landing point, but without naming a specific work.
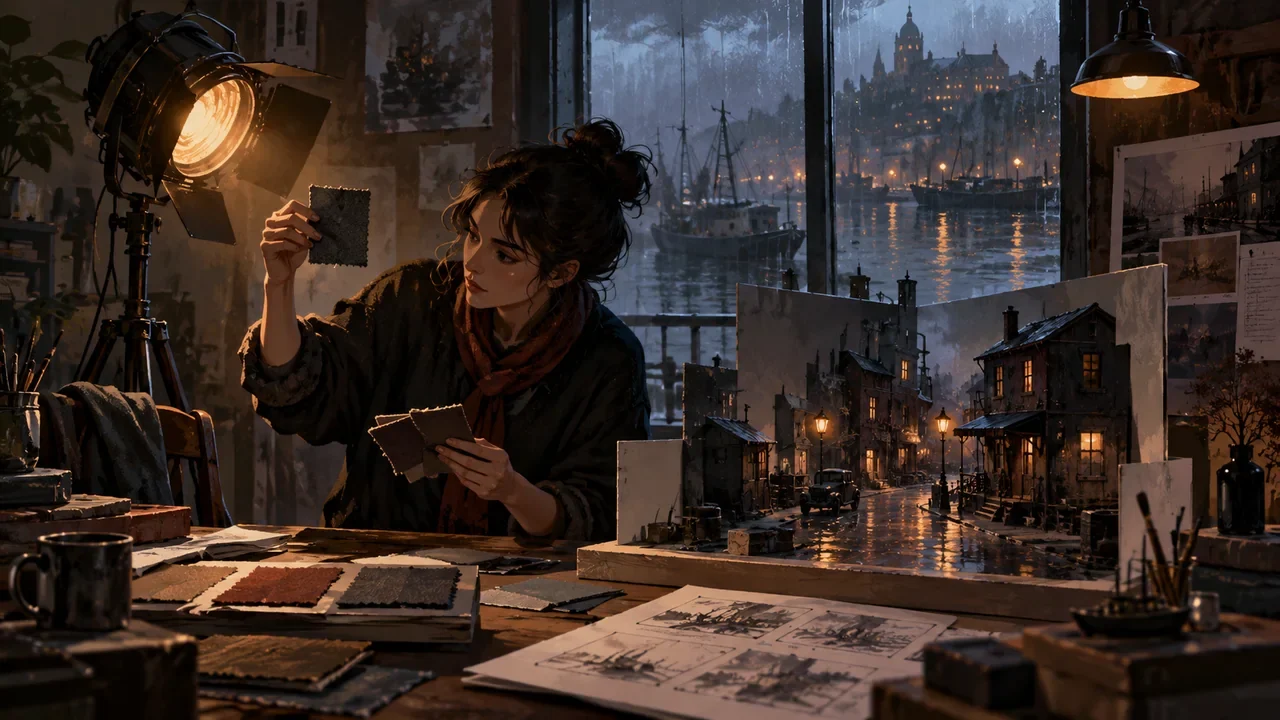
Rainy Port Retro Style: an old port city with year-round rain, neon and tungsten lamps mixed, damp, faded, with a slight graininess; the characters are in a state of exhaustion but still have warmth.
This sentence can answer "is this shot right?" because it gives observable directions: damp, faded, mixed light, grain, exhausted but warm. When the team uses it to compare images, they do not need to guess which scene from the reference work it is.
Step 2: Write the color tone as a reviewable description
For color tone, do not just give color names; give the three things "main color - secondary color - prohibited direction," and explain the approximate positions of saturation and brightness. It can be written like this:
| Item | Text constraint | Review method |
|---|---|---|
| Main color | Cyan-gray, dark blue-green, occupying most of the image | The image is overall cool, but not excessively blue-purple |
| Secondary color | Warm yellow of tungsten lamps, dark red of old signs | Warm colors appear only on light sources or small-area objects |
| Saturation | Medium-low, avoid bright pure colors | Red is not harsh, yellow does not turn white |
| Brightness | Midtones leaning dark, retain shadow detail | Materials can be seen in dark areas, not a mass of black |
When reviewing, have the team answer two questions: whether the main color is dominant, and whether warm colors are only used as accents. If both answers are "yes," the color tone is basically qualified; if the image is overall purple or warm colors fill the frame, it has deviated from the specification.
Step 3: Write materials and light sources separately
Materials answer "what things feel like when touched," and light sources answer "where the light comes from and how it falls." If the two are written together, the team will revise repeatedly.
The material constraints for Rainy Port Retro Style can be written as: metal has oxidation marks, wood darkens from absorbing water, walls have salt stains and peeling, glass has moisture and fingerprints. The prohibited directions are brand-new plastic feel, uniform frosting, and surfaces without signs of use.
The light source constraints can be written as: the main light comes from street lamps, shop signs, and tungsten lamps inside windows, with a low, side-leaning direction; on rainy days, reflected light supplements from the ground upward; avoid noon overhead light and uniform shadowless studio light. When reviewing, look at whether shadows have direction and whether reflections appear on wet ground, rather than looking at "whether it is bright."
Step 4: Detail density and expression boundaries
Detail density refers to the amount of information in the image. Rainy Port Retro Style suggests: a small number of specific objects in the foreground (mooring ropes, buckets, old posters), characters and main actions in the midground, and recognizable but not overly stacked signs and boat shadows in the background. The prohibited directions are screens full of text, dense pipelines, and piles of clutter without primary-secondary hierarchy.
Expression boundaries should clearly state what can be expressed and what cannot be expressed. It can express exhaustion, restraint, old-day warmth, and slight absurdity; it does not express gore and sensationalism, clear real-world brands, portraits of real people, or images that encourage dangerous behavior. Boundaries are not a censorship checklist, but a way to let the team know which directions do not need to be tried again.
Step 5: Can keep and can change table
This table is for the team to make trade-offs. The left column is the style skeleton that must be kept, and the right column is the part allowed to adjust with the plot.
| Can keep (style skeleton) | Can change (adjust with scene) |
|---|---|
| Cyan-gray dark blue main color, medium-low saturation | Specific scenes can lean green or brown, but do not leave the cool tone |
| Wet ground reflections, side-leaning low-angle light sources | Indoors can use window light instead of street lamps |
| Oxidized metal, water-absorbing wood, salt-stained walls | Different buildings can have different degrees of damage |
| A small number of specific objects in the foreground | Object types change with location |
| Exhausted but warm character state | Emotional intensity can rise or fall with the plot |
During team discussion, first confirm that the left column has not been changed, then discuss the right column. If someone wants to change the left column, they need to explain the reason and have everyone recheck, rather than quietly replacing it in some round.
Step 6: A complete dialogue example
The following dialogue is a fictional teaching example, used to show how the specification is used.
Director: For scene three, I want to switch to a warm color tone, the protagonist is remembering childhood. Style lead: Warm colors are fine, but according to the specification they can only appear on light sources or small-area objects. Do you want the whole scene to lean warm, or only the tungsten lamp inside the window to lean warm? Director: Only the lamp leans warm, outside is still a rainy night. Style lead: Then keep the cyan-gray main color and wet ground reflections, and let warm yellow fall only inside the window and on the side of the character's face. Materials are still oxidized metal and water-absorbing wood, and detail density does not increase. That works. Director: I want to add a real brand name to the sign. Style lead: The expression boundaries say no clear real-world brands. You can change it to a fictional shop name, and keep the old handwritten feel in the lettering.
In this dialogue, the style lead did not say "no," but broke the request back into the specification: color tone, light source, materials, detail density, and expression boundaries, giving an executable answer item by item.
Step 7: Completion check
After writing the specification, use the following five items to check whether it is deliverable:
- The summary does not contain the name of a specific reference work.
- The color tone has four descriptions: main color, secondary color, saturation, and brightness.
- Materials and light sources are separate, each with prohibited directions.
- Detail density explains what goes in the foreground, midground, and background.
- The can keep and can change table can be used directly for discussion without further explanation.
If all five items are met, the team can review images according to the text constraints, without having to switch to a different reference work name every round. If any item is missing, fill in that item first, then move to the next stage.
Small action
Write the current project's style summary as one sentence, then fill in the first three rows of the "can keep / can change" table. After writing, have one teammate look only at these three rows and judge whether a specific shot is qualified; if he needs to ask again for the reference work name, the constraints are not stable enough. This article was organized by DramaFork, according to the current project implementation notes: after the style step, it affects characters, video, preview, and export; when modifying the style, only mark the related completed steps as needing update, old data is retained, and creators still need to manually check whether the actual modifications change the expression of old materials.