How to Shoot a Scene with Four Branches: Continuity, Script Supervision, and Shooting Order
The biggest risk in a scene with four branches is not the dialogue, but mismatches between entry states, pauses before choices, and exit actions. On set, shoot it as a shared core with several state variants, using a branch board, continuity photos, and exit checks to safeguard each route, rather than shooting the entire scene four times in succession.
Introduction
The biggest risk in a scene with four branches is not the dialogue, but mismatches between entry states, pauses before choices, and exit actions. On set, shoot it as a shared core with several state variants, using a branch board, continuity photos, and exit checks to safeguard each route, rather than shooting the entire scene four times in succession.
Prepare a Branch Board Before Shooting
Give each route its own column on the branch board, with rows for the entry, shared actions, differing dialogue, state updates, exit pose, and next node. Use node and shot IDs to reference the script and storyboard. The director can see performance changes, the script supervisor can track props and actions, and the cinematographer can see how many sets of coverage are needed.
For example, after confronting their partner, the protagonist can reassure them, threaten them, remain silent, or present a recording. All four routes might share the core action of approaching the table, but lead the partner to sit down, step back, speak first, or snatch the phone, respectively. Each exit must leave a clear pose for the subsequent node.
Shoot a Master First to Establish the Space and Baseline
First complete a master take that covers the blocking most fully, so the whole crew understands the pacing, positions, axis of action, and shared actions. The master is not the default “correct route,” but a continuity baseline. The script supervisor records the timing, gestures, prop positions, and dialogue emphasis for every shared action.
If the choice occurs midway through the master, also shoot a waiting segment that can be extended; do not rely solely on freezing the image in the edit. For the countdown version, retain enough footage at both ends to leave a safe margin for the software and subtitles.
Then Shoot Variants by Shot and State
Shooting all four reactions together under the same lighting and camera setup makes comparison easier than running all of A, changing the camera setup, and then running all of B. Before each take, announce the node, branch, character state, and intended exit, and enter the slate information into the file metadata or log as well.
However, when an actor needs emotional continuity, you can first run the most emotionally demanding route in full, then capture the variants from the same camera setup. Shooting order is a compromise between creative needs and efficiency, and should be settled after rehearsal rather than improvised on set.
Track Two Types of Continuity
Linear continuity covers actions, costumes and makeup, props, and lighting; logical continuity covers what characters know, whom they trust, whether resources have been consumed, and what choice they have just made. Record both on the script supervisor’s sheet, marking the entry’s source and the exit’s destination. Photographing the water glass’s position without recording that a character has already seen the recording still leaves a continuity error in the performance.
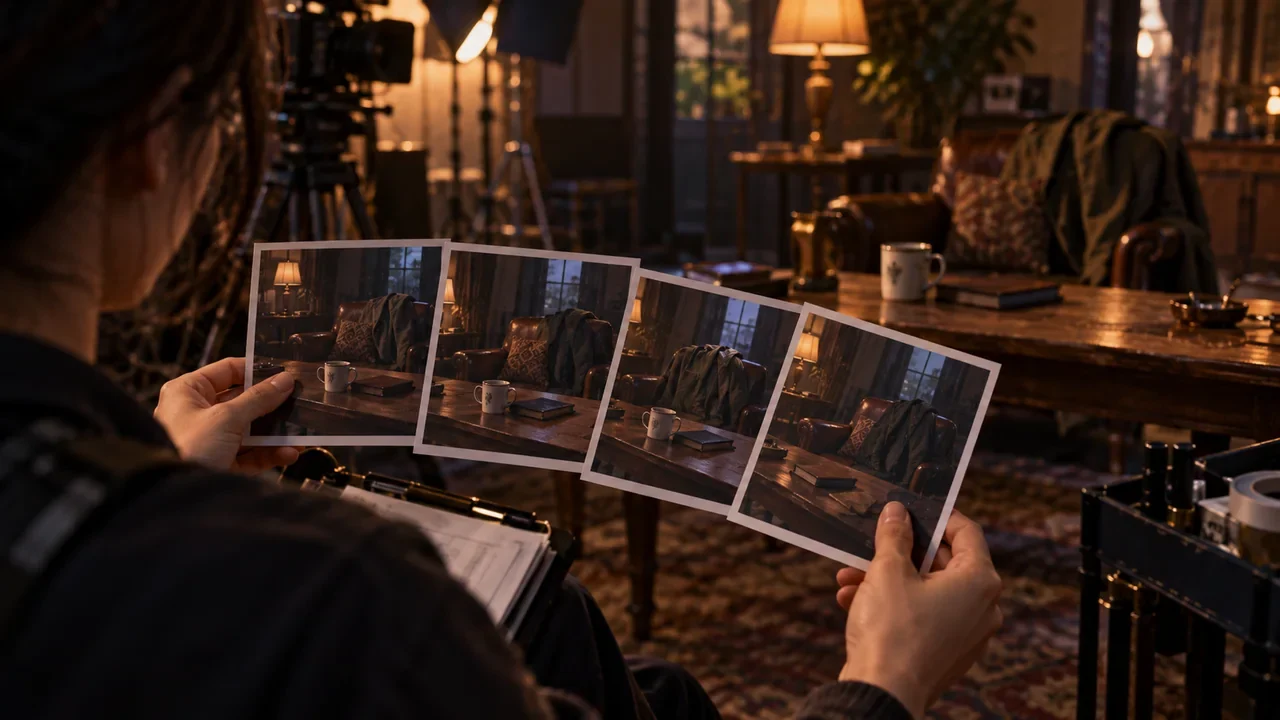
For each exit, capture front-view and wide-shot references, and record the last usable frame for editing, ambient sound, and the requirements for the next shot. Link photo filenames to the node; the photos must not exist only in someone’s personal phone gallery.
Leave Room for Sound Continuity
Dialogue length differs across the four routes, but ambient sound, breathing, and actions must connect to the shared next segment. Leave silence at the beginning and end of each variant, record steady room tone on set, and avoid sudden noises at exits that cannot be reproduced.
If you use a shared core with alternate audio tracks, make sure lip movements and on-screen actions are not overly specific. Actors should maintain the pace and action marks in each take, with audio differences concentrated where they can be covered by an obstruction or a reverse shot.
Check the Footage Route by Route
On set, do more than ask whether all four versions have been shot: watch A’s entry, feedback, and exit together, then do the same for B, C, and D. Check that dialogue, actions, eyelines, props, character knowledge, and target files are complete. A close-up may look beautiful, but if its exit cannot connect to the next node, it is still unusable.
Select a preferred take and a backup take for each route, and record any usage restrictions. Find a gap that day and fill it that day; bringing actors back after the set has been struck makes costs rise sharply.
Control Variants Instead of Pursuing Every Combination
Four options do not mean every shot needs four versions. Differentiate the immediate feedback and exits that matter most to players, while reusing spatial establishment and neutral actions. If two states cannot be distinguished in either performance or consequences, merge them at the script stage rather than creating artificial versions on set.
Run a “Mock Integration” on Set
Before packing up the cameras, import the pre-choice master and proxy files for all four exits into a simple player, and actually click through all four options. Even without finished color grading, this can reveal missing frames at the start, reversed action directions, waiting segments that are too short, or mislabeled files. Watching takes individually on the monitor makes it difficult to spot breaks caused by interactive transitions.
The mock integration must also cover the no-input route and the fastest possible click: if a player submits a choice as soon as the buttons appear, is there still a complete reaction? Which route runs when the countdown ends? If the on-set network or equipment does not allow integration, at least have the data manager play exit–entry pairs together and record the results in the daily report.
Leave Precise Reference Information for Pickups
If a route is unusable, the report should specify the node, camera setup, state, last entry frame, missing action, target exit, and reference audio, rather than simply saying “another take of the threat version.” When actors return later, they can recover the same intention, while the camera, costume, and makeup teams can recreate the conditions. Precise records are themselves insurance against higher pickup costs.
Next step: create a four-column branch board for the most complex scene, and mark all shared actions and differing exits during rehearsal; on set, compare the four states across the board after completing each camera setup, then watch all four routes from start to finish before wrapping.