Visual Novel Background Panning and Zooming In: How Much Extra to Draw
Map the full area swept by the viewport, then mark what may be revealed along the way. A fictional move from a greenhouse workbench to a side door shows how to create a background motion coverage map with drawing boundaries, checkpoints, and conditions for a delayed reveal.
Introduction
Before panning or zooming in on a background, map the area the viewport will sweep along its planned path, then decide how far the artwork needs to extend. Also mark what may become visible during the move and what must wait until it ends. A brief needs more than “draw a little extra on the right”: specify the starting view, motion path, ending view, additional artwork, and reveal conditions.
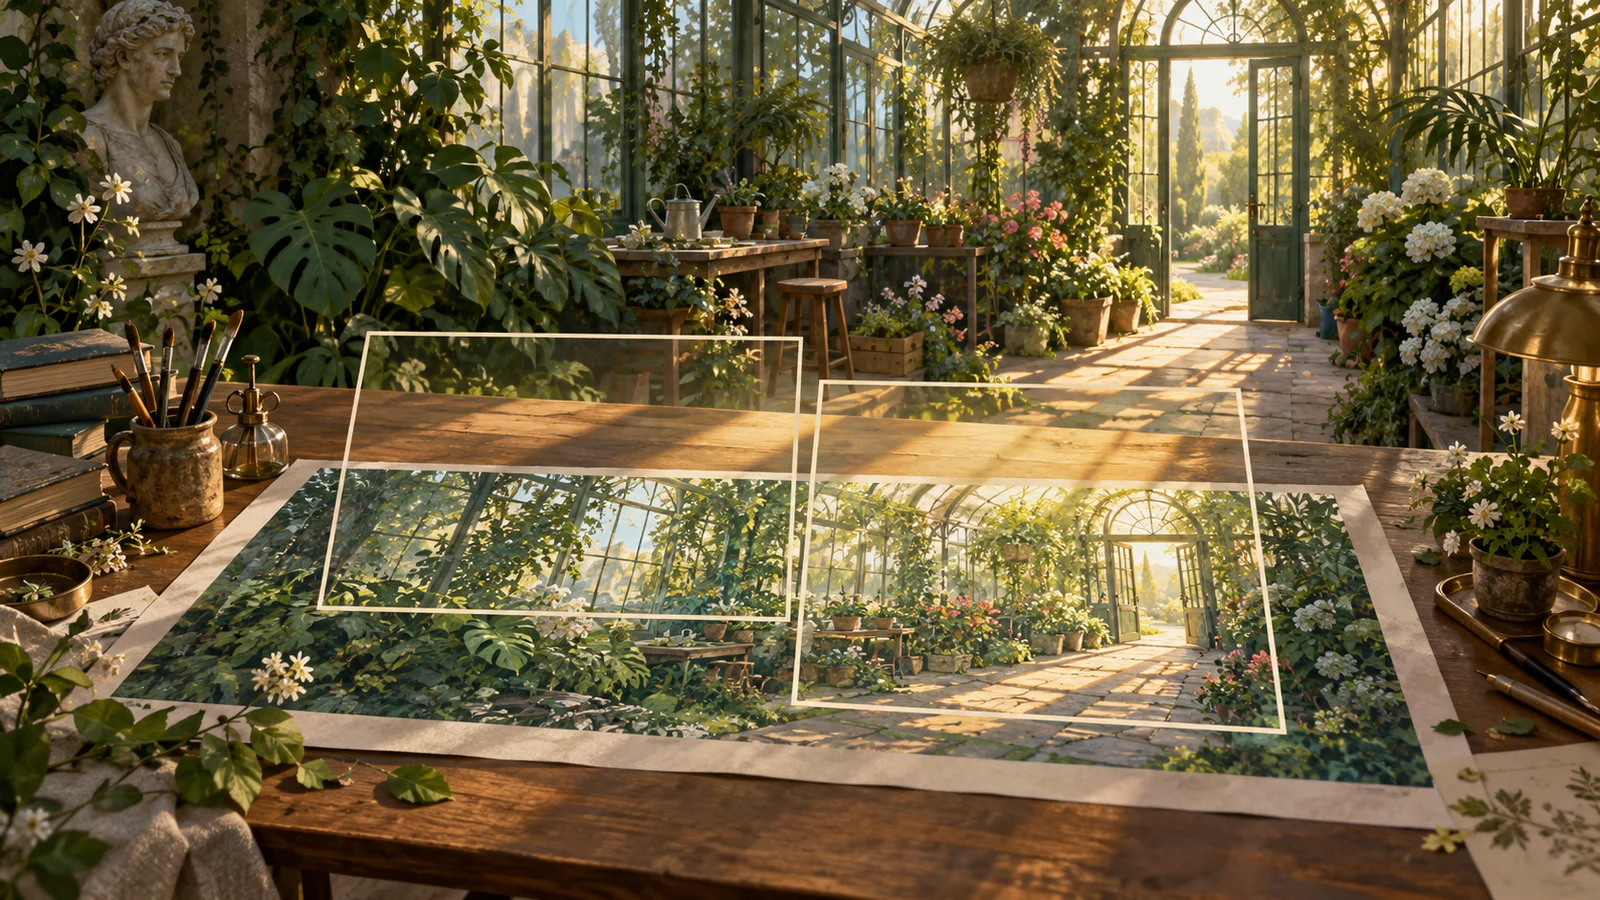
The following is an original, fictional teaching example: the view moves from a greenhouse workbench toward a side door, and an empty flowerpot behind that door must become visible only after the move ends. This is not an actual user case, a measured result, or a DramaFork feature. The coordinates use arbitrary units chosen solely to explain the composition.
First, resolve the contradiction in “visible only at the end”
Suppose the empty pot is painted directly into the same background and enters the frame solely through a rightward pan. If the pot occupies any appreciable width in the final view, it will generally begin appearing before the viewport reaches its destination. Placing it farther right can delay its appearance, but cannot guarantee both “completely invisible during the move” and “fully visible when the move stops.”
Define the requirement precisely first: may the outline appear during the final stretch, with the empty interior becoming clear only after the view settles? Or must even the rim remain hidden until then? This example chooses the latter and makes an explicit staging adjustment: the side door stays closed during the move and opens only after the viewport stops, revealing the pot. The background artist must provide the complete area behind the door and a separate door image that conceals it. How those assets are displayed must be implemented separately.
This choice increases the artwork to be delivered for the door and the area behind it, and makes opening the door responsible for the reveal. If the story does not permit the door to open, switch to another image after the move ends, or agree with the writer that a gradual reveal during the final stretch is acceptable. A single static background cannot be expected to satisfy conflicting requirements.
Map the motion coverage in one coordinate system
Set the origin at the sketch’s upper-left corner, with the horizontal axis increasing to the right and the vertical axis increasing downward. Define a viewport 100 units wide and 60 high. It moves 60 units to the right along a horizontal straight line, with no rotation or scaling throughout. What moves here is the viewing area on the background; the background asset’s actual displacement in the scene must be calculated according to the project’s display setup.
The starting frame spans 0–100 horizontally, and the ending frame spans 60–160. Both span 0–60 vertically. Whether the speed is constant or variable, this example’s straight horizontal move never passes either endpoint, so the union of all viewport positions spans 0–160 horizontally and 0–60 vertically. Speed affects how long each area remains in view, not the area this path covers.
Add the following annotations directly to the same background sketch to create the motion coverage map for this example:
| Map marking | Entry for this example |
|---|---|
| Starting view, solid outline | Horizontal range 0–100; the workbench is the visual focus |
| Motion path, arrow | The frame’s left edge moves from 0 to 60; its vertical position stays fixed |
| Intermediate views, dashed outlines | Check with the left edge at 15, 30, and 45 |
| Ending view, double outline | Horizontal range 60–160; the side door becomes the focus of attention |
| Additional artwork, hatched area | Extend the original image to the right from 100 to 160, adding wall, floor, plants, and the area behind the door |
| Delayed-reveal object, circled | The pot occupies horizontal range 140–150 and vertical range 38–55 |
| Occlusion and its release condition | The closed door conceals the pot; remove the occlusion only after the viewport stops |
Use a dotted outline to mark the outer drawing boundary as well. This example uses horizontal range −4–164 and vertical range −4–64, leaving a four-unit margin around the coverage area for later verification. This is not a universal safe margin; it only leaves a little room for adjustment in this example. If the move later extends farther, recalculate the coverage.
Check each segment for empty edges and premature reveals
At the start, only the workbench and nearby plants are visible; the side door is not. Check whether the original image cuts off the workbench’s edges and whether any transparent gaps fall inside the starting frame. An area being temporarily out of view does not mean it can be filled with a strip of flat wall color: as the viewport moves, floor joints, plant outlines, and lighting all need to connect consistently.
When the left edge reaches 15, the right edge reaches 115, and the newly painted wall and plants begin entering the view. This segment may establish that “there is a passage beside the workbench,” but must not introduce details such as spilled potting soil or a reflection of the pot that could hint at what is behind the door. In this example, these clues are explicitly listed as details that must not be added, rather than leaving the artist to interpret “no spoilers.”
When the left edge reaches 30, the right edge reaches 130, and the side door’s edge begins to appear. At 45, the right edge reaches 145, placing part of the pot’s area within the viewport. The image should still show only the closed door there. Check the door asset’s actual outline on the map to ensure that gaps around the door, glass, and transparent areas cannot expose the pot’s rim.
The ending frame spans 60–160, with the door still closed. The door opens after the viewport stops, and only then does the empty pot become visible. Draw enough of the wall and floor behind the door to cover everything actually exposed when it opens, rather than just a small patch around the pot. If the door swings open, its motion and occlusion also need separate planning; a “separate door image” does not by itself solve the opening animation.
This walkthrough establishes that extending the right edge can fix insufficient coverage, but cannot resolve premature disclosure on its own. Any detail recognizable during the move must be treated as information already given to the reader. Its narrative effect cannot be dismissed because “it passes quickly.”
For a zoom-in, first examine how the viewport changes
When zooming in around a fixed center, the viewing area on the background gradually shrinks. Suppose the center remains at this example’s final position and the viewing area shrinks from 100 × 60 to 80 × 48. The smaller frame sits entirely inside the larger one, so this usually creates no additional need to extend the outer artwork. The new demand is whether the enlarged textures and details hold up under closer viewing.
A zoom-in does not necessarily stay centered on the image, however. If it moves toward the door handle while zooming in, the frame both shrinks and shifts, and a corner may still extend beyond the original artwork. Draw the changing frames in the same coordinate system, then determine the coverage over the entire move. Do not approve the artwork merely on the assumption that “zooming in cannot expose an edge.”
Curved paths, back-and-forth motion, and overshooting the destination before returning may also carry intermediate views beyond the starting and ending frames. Add frames at turning points and the farthest positions. A few checkpoints help locate problems, but the final check still needs to move the frame along the complete path and inspect every area it passes through.
Sign off on coverage and reveal timing separately
The scene editor delivers the viewports, path, and reveal cues; the artist delivers the complete background, extensions, and occlusion assets. Both should use the same version of the coordinate layout and specify the aspect ratio, cropping method, and permitted adjustment range. Once the path changes, the old coverage map is no longer automatically valid.
The coverage check asks only whether every viewport is completely filled at every moment, and whether seams, plants, and walls remain continuous. The reveal check separately asks whether the pot’s rim, reflections, or related clues are revealed before the stop, and whether opening the door afterward actually reveals the empty pot. Both checks must pass before the extension requirements can be considered valid under the agreed conditions.
This map applies to cropping and scaling a single flat background. If foreground plants, the door, and the distant wall move separately, calculate coverage for each layer’s path and check for gaps between layers. Changing the aspect ratio or adding parallax also requires a new map. The conclusions from this one horizontal pan cannot be applied directly to every kind of background movement.