How to Storyboard a Branching Story: Shared and Variant Shots in the Same Scene
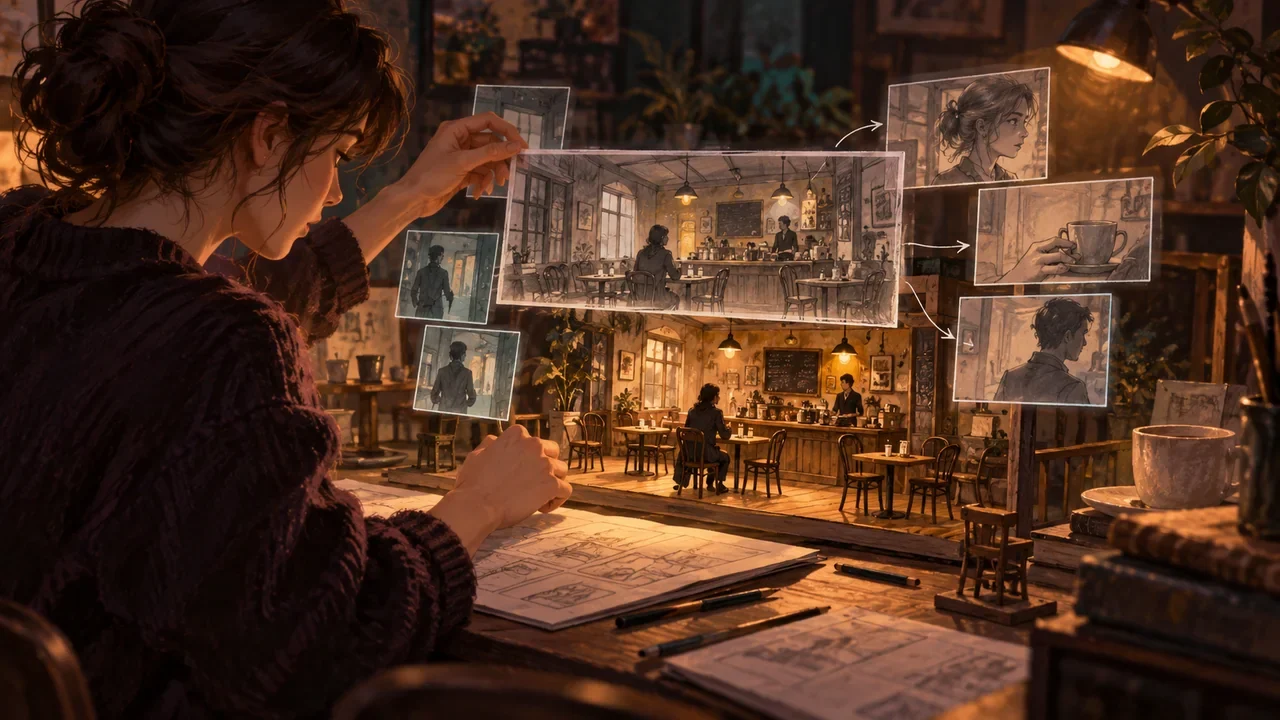
Storyboarding an interactive film game cannot mean drawing every route from scratch, nor can it mean drawing only one main storyline and explaining the branches verbally. A more effective approach is to divide each scene into a shared core, entry variants, choice pauses, and exit variants, using state labels to indicate which shots can be reused and which must be filmed separately.
Introduction
Storyboarding an interactive film game cannot mean drawing every route from scratch, nor can it mean drawing only one main storyline and explaining the branches verbally. A more effective approach is to divide each scene into a shared core, entry variants, choice pauses, and exit variants, using state labels to indicate which shots can be reused and which must be filmed separately.
Draw the Scene's Framework First, Then Layer in States
On the first pass, draw only the space, character blocking, and information points shared by all routes to create a neutral framework. On the second pass, mark entry differences: where characters come from, what they are carrying, and the state of their relationships and emotions. On the third pass, mark the actions after each choice and the poses at the exits. Do not start by duplicating six sets of boards; later changes will require six rounds of synchronization.
The archive-room confrontation in 《零点回拨》 can share the shots of the protagonist walking up to the desk, discovering that the drawer is already open, and inspecting the empty document envelope. On the high-trust route, the partner stands closer; on the low-trust route, the desk separates them. The core shots are shared, while the opening two-shot and the exit shot of handing over evidence are separate.
Add Interactive Fields to Every Storyboard Panel
Alongside traditional fields, add the node ID, state ID, shot purpose, whether it is shared, interaction appearance point, allowable wait duration, option safe area, entry matching, and exit matching. This tells the cinematographer how to compose the frame, the programmer when buttons should appear, and the editor which frame can be used for a cut.
Distinguish shared shots and variants with text or patterns, rather than relying on color alone. Clearly state the condition for each variant; “Version A” does not tell the crew why it exists and can easily lead to an incorrect connection.
Design the Choice Pause as a Shot
When options appear, characters cannot be arbitrarily frozen in the middle of a key action. Design a wait that can loop or be extended naturally: a character looks outside the door, a phone stays silent, the camera slowly pushes in, or background activity continues. For timed choices, the performance and countdown create pressure together; if players can deliberate, the image must hold up through a wait of ten seconds or more.
Mark subtitle and button safe areas in advance to protect faces, key props, and actions. When releasing in both landscape and portrait formats, verify each composition separately; simply cropping the edges of the frame is insufficient.
Make Exit Shots Serve the Next Segment
For each option's exit, record character positions, eyelines, gestures, lighting, focal length, and the audio tail; match these items one by one at the next node's entry. If several exits feed into a shared core, have the characters complete the same neutral action, such as walking to the window or looking down at a phone, before cutting to the shared shot.
Do not use meaningless cuts to black to conceal every convergence. Doorframe occlusion, a whip pan, an inserted phone close-up, or an ambient sound bridge can conceal cut points naturally within the narrative, but they must be designed at the storyboard stage.
Prioritize the Consequences of Choices in Variant Shots
When the budget is limited, separate shots should focus on the moments when players most expect feedback: the other character's expression, key actions, where evidence goes, and irreversible outcomes. Reuse background transitions wherever possible if they do not convey a state. This delivers the greatest perceived difference from a limited amount of filming.
State differences in the same line of dialogue can be handled with separate close-ups or alternate audio tracks; there is no need to reshoot the entire scene. Mark which changes require visuals and which can be conveyed through sound alone for the director and editor to assess.
Use a Shot Matrix to Find Omissions
Build a “shot × state” matrix: give each shot a row, list relevant states such as high or low relationship levels, evidence present or absent, and injuries, and fill in shared, variant, or not applicable. Empty cells indicate states that have not been covered; an unusually high number of variants suggests that the state design is too granular.
Then play through the storyboard from each entry to confirm that every route can enter from the preceding exit, complete the interaction, and proceed to a valid next node. A storyboard review is about verifying continuity and production volume, rather than admiring the images.
Animatics Reveal Problems Earlier Than Static Images
Edit the storyboard into an animatic using estimated durations, and add temporary sound, subtitles, options, and countdowns. The team will immediately see options appearing too early, reading areas covering faces, waiting shots that are too short, or branch feedback that is unclear. Revising sketches costs far less than reshooting.
Have Each Department Stress-Test the Storyboard
The cinematographer checks whether camera setups, lighting, and the line of action can be handled within the planned time; the art department checks sets and props for each branch state; actors check whether the entry information is sufficient to get into character; the editor checks whether each exit has a frame that can connect to the next shot; and the programmer checks choice appearance, looping, and preloading windows. Record every issue against its specific panel number and node ID, rather than creating a separate, isolated set of notes after the meeting.
Once locked, output two versions: an on-set version sorted by scene and shot, and a narrative version sorted by player path. The on-set version supports execution, while the narrative version preserves cause and effect; both are generated from the same shot matrix. If blocking or exits change on set, the script supervisor updates the matrix and reference images that day so that post-production does not continue assembling footage according to an outdated storyboard.
Next step: choose a scene that includes a convergence, draw the shared framework first, and then add variants only for entries, feedback, and exits. Turn it into an animatic with buttons to verify the pauses and connection points on every route.