Visual Novel Sprites Look Like Stickers at Night: Planning Lighting Variants
Nighttime character sprites need more than an overall brightness reduction. Using three positions of a fictional lighthouse keeper, this guide separates color grading from local repainting and turns key-light direction, occlusion, identifying colors, and reuse limits into an actionable lighting brief.
Introduction
If a daytime character sprite looks like a sticker against a nighttime background, first check the direction of the light and shadow on the face and clothing folds. Then decide whether to darken the whole image. If the colors are too warm or the image is too bright, an overall color adjustment may be a useful first step. If the nose shadow still points the wrong way or a collar facing away from the light still has a bright rim, those areas need repainting. Production notes should name specific areas, rather than simply ask for “more of a nighttime feel.”
The deliverable here is a brief for character-sprite lighting variants. The lighthouse keeper and all settings below are fictional teaching examples. The visual reasoning follows their specified light directions and occlusion relationships; these are not real user cases, measured results, or DramaFork product features. No particular software’s color-adjustment capabilities are assumed.
Establish the character’s position before deciding where the light comes from
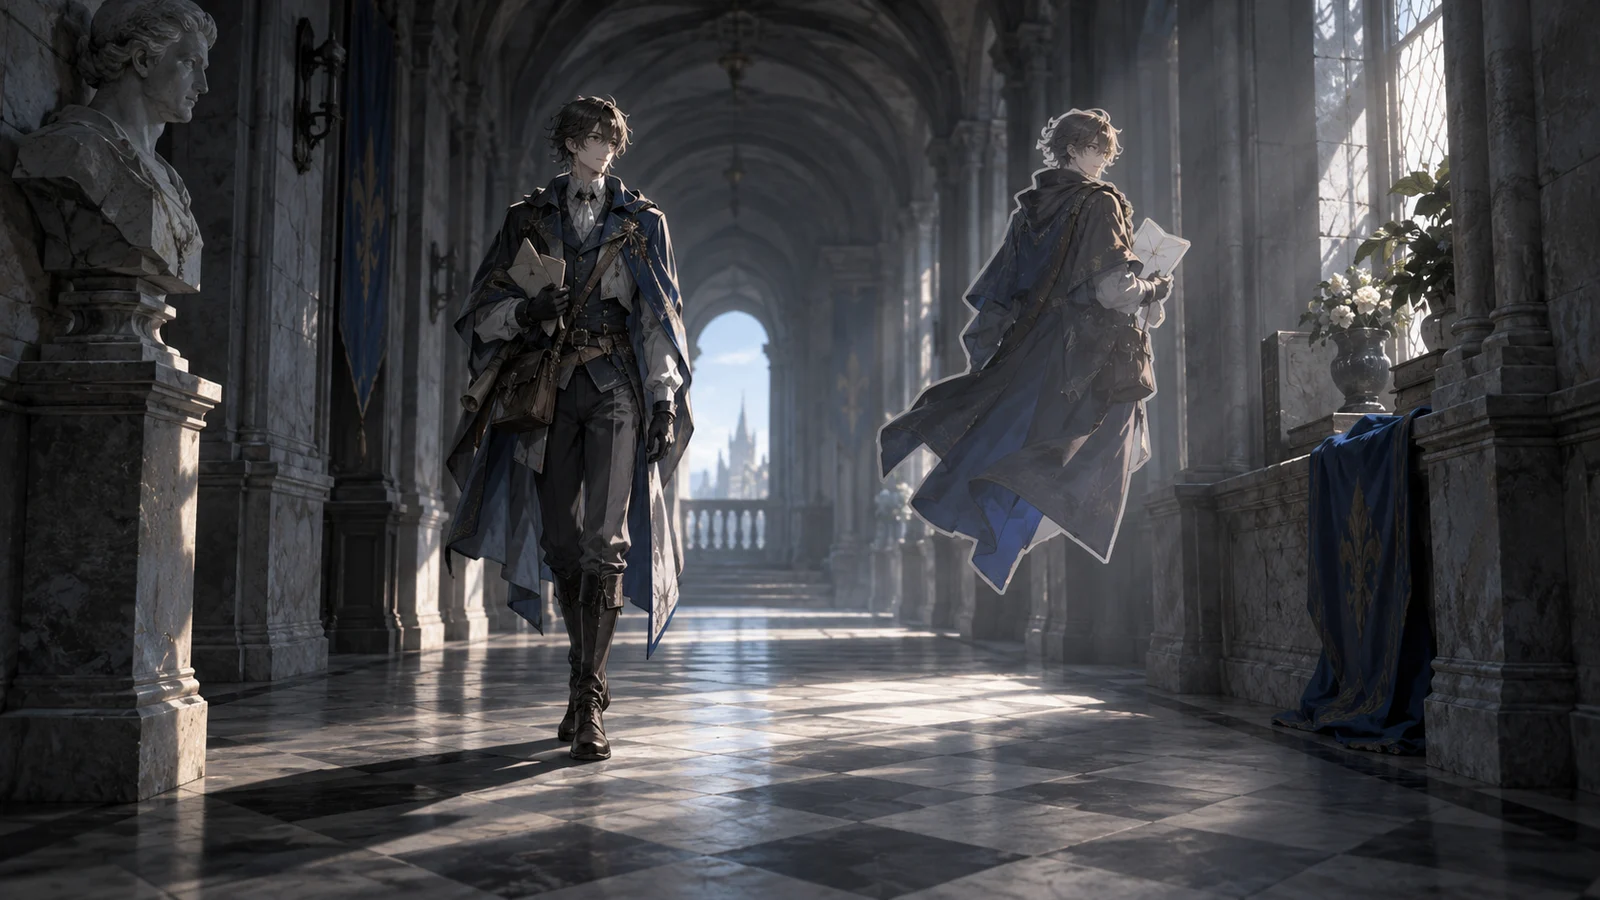
The lighthouse keeper wears a dark blue coat with a dark red patch at the collar and an old copper clasp on his chest. He starts on an overcast dock, moves into a room lit by a warm lamp, then approaches a moonlit window. All three versions use the same front-facing pose with the head turned slightly, at the same character scale, so we can discuss lighting changes in isolation.
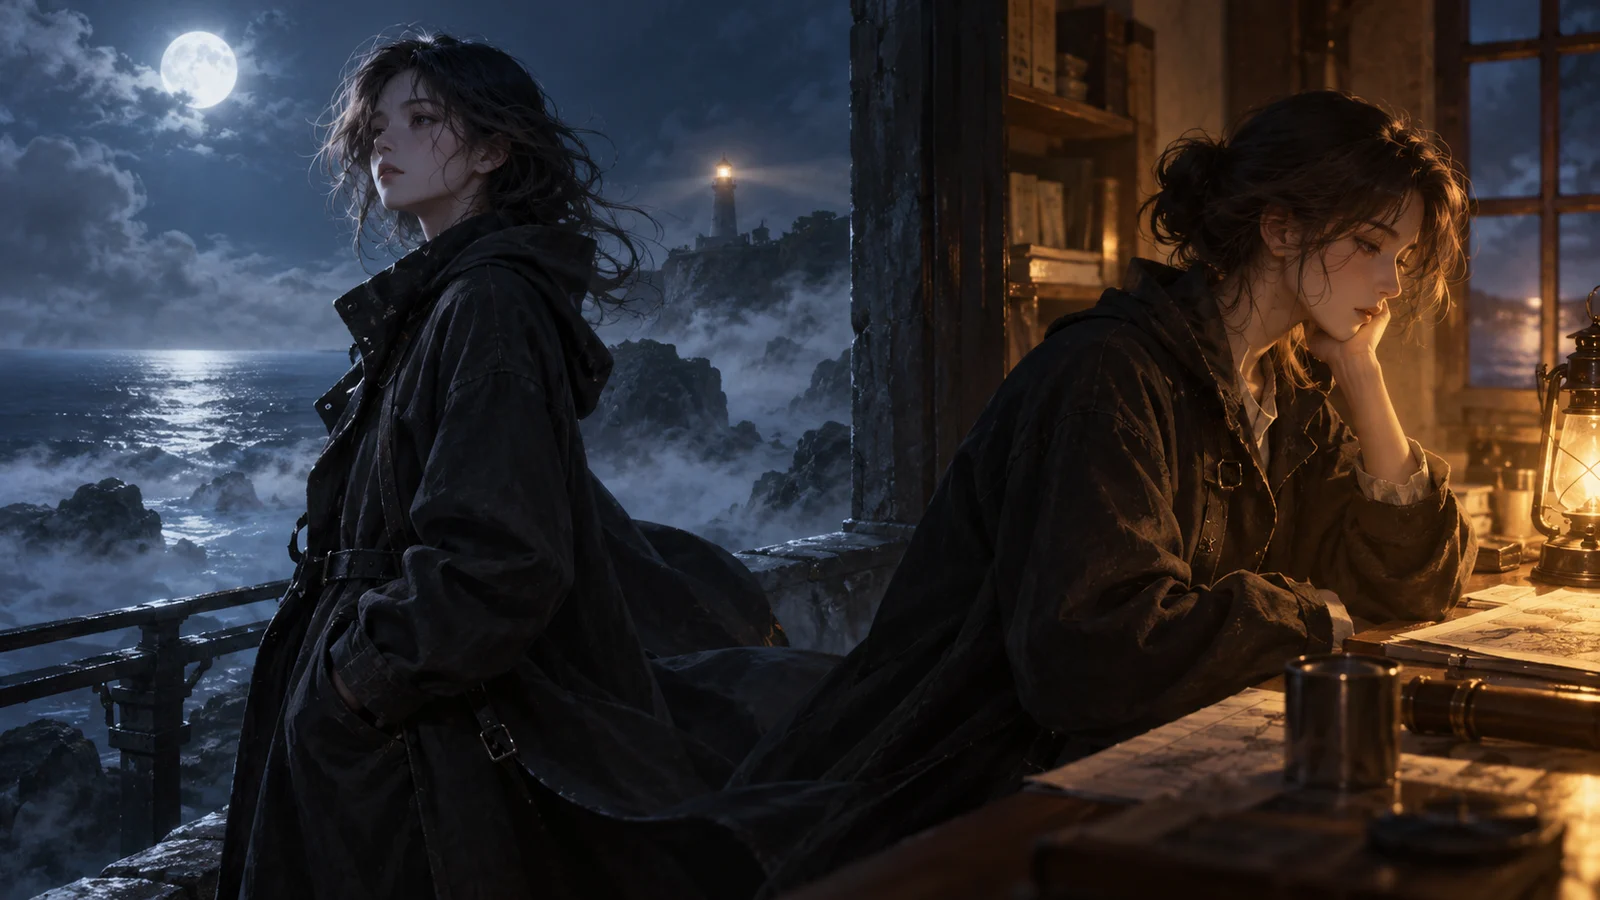
The brief consistently uses “image left” and “image right” to avoid confusing the viewer’s orientation with the character’s own left and right. In this example, the dock receives soft light from the open sky above. The indoor lamp is at the upper left of the image, in front of the character. At the window, moonlight enters from the upper right, mostly from the side, with only weak warm room light on the left. Cool moonlight is an artistic choice for this example, not a universal rule for night scenes.
Mark the character’s position, the light sources, and the direction of illumination on the background sketch first. Then mark the lit and shadowed areas on a small sprite study. If the background only shows a distant window without specifying whether the character stands in its light, the artist cannot determine whether the face should receive side lighting.
We will make one deliberate choice here: the window position avoids shadows cast by the window frame, so only side lighting and self-shadowing need to be addressed. If the story requires the character to pass through the frame’s shadow, specify those cast shadows separately instead of leaving the artist to invent a pattern of stripes.
Overall color grading changes the mood; local repainting changes the lighting relationships
The dock version makes a suitable base for this example. Keep the light-to-shadow transitions on the face soft, retain occlusion shadows below the brow ridge, beneath the nose and chin, and inside the collar, and avoid a strong one-sided strip of light across the coat’s broad surfaces. These shadows still follow the character’s structure. An overcast sky does not mean there are no shadows.
For the warm interior, first reduce any overly bright broad areas in the base artwork, then shift the lit areas toward warmer colors. An overall adjustment will not automatically move the nose shadow to the other side or make the raised collar correctly shade the neck. Rework the light-facing areas of the forehead, cheekbone, and shoulder on image left, and direct the nose shadow toward the lower right of the image. Keep the cheek on image right and the area below the collar darker.
Annotate the two kinds of problem separately: “The whole image is too bright” calls for a tonal adjustment; “The highlight on the right shoulder conflicts with the lamp at upper left” calls for local repainting. If one annotation includes both, specify the scope of each treatment separately. Tinting the whole image orange should not be mistaken for finishing the task.
Record the dark blue coat, dark red patch, and old copper clasp as the character’s identifying colors. Preserving these colors does not mean keeping every area’s color fixed. It means keeping the materials and color relationships recognizable across all three environments. The coat’s warm-lit side can become warmer, but its shadowed side must remain distinguishable from the red patch. Adjust the copper clasp’s highlight to match the light source; do not paste the same fixed white dot onto every version.
Turn the three positions into a deliverable lighting-variant brief
Together, the following items form a reusable brief for this example. For a different character, replace the positions, palette, and specific occluded areas. Do not merely swap the words “cool” and “warm.”
Shared base artwork: Use the same pose and clothing shapes, retaining the silhouette, facial-feature positions, garment seams, and patch boundaries. Preserve the color relationships between the dark blue coat, dark red collar patch, and old copper clasp. These structural details are shared; not every highlight and shadow already painted into the original is.
| Version and placement | Key-light direction | Occluded areas | Reusable elements | Areas to repaint |
|---|---|---|---|---|
| Soft dock light: an open area under an overcast sky | Broad, soft light from above, with no strong one-sided key light | Below the brow ridge, beneath the nose and chin, and inside the collar | Shared base artwork and basic shadows that remain valid in the same pose | Remove strong side lighting from the original; refine soft light and shadow on the face and coat |
| Warm interior light: in front of a lamp at upper left | Upper left of the image, in front of the character | The nose casts a shadow toward the lower right; the collar shades part of the neck | Silhouette, clothing details, and basic shadows that do not conflict with the lighting | Lit areas on the left forehead and cheekbone, shadows on the right side of the face, light-facing areas of the left shoulder and clothing folds, and the copper clasp’s highlight |
| Moonlight by the window: window light covers the upper body | Upper right of the image, mostly from the side, with weak warm light on the left | Nose shadow directed to the left; the chin and collar continue to block light | Shared base artwork and occlusion relationships that remain valid | Cool-lit areas on the right cheek and shoulder, shadows with a little warm light on the left, light and shadow on clothing folds, and reflections on the copper clasp |
Additional color-preservation notes: The dock version establishes the palette reference. In the warm interior version, do not tint the red patch and coat into one indistinguishable brown mass. The window version may reduce saturation in the left-side shadows, but the collar patch’s shape and relative color difference must remain readable. Not every button needs to be clearly visible in the dark.
Delivery sequence: Submit three small studies first to confirm the light directions and extent of the shadows, then refine the skin, fabric, and metal. If both sides look as though they are receiving the key light in the studies, do not proceed to detail work. First establish which side is brighter and what limited fill-light role the other side serves.
Reuse depends on lighting conditions, not scene names
This example needs three versions because soft light, a warm lamp on the left, and window light on the right each require a different arrangement of light and shadow. Simply tinting the warm interior version blue does not make it a window version. The colors may become cooler, but the nose shadow and bright area on the shoulder still face the wrong way.
Conversely, two different backgrounds may be able to share the dock version. For instance, if the lighthouse keeper moves from the open dock to a foggy pier that likewise has no pronounced side lighting, try reusing it as long as the pose, occlusion, and main light-and-shadow relationships remain consistent. Then check the overall brightness and color against the new background.
Check key-light direction, light softness or hardness, occlusion shapes, and the readability of identifying colors, in that order. If only the overall color tone differs, mark the version as a reuse candidate. If any factor requires a light–shadow boundary to move, list the local changes needed. State which positions the reuse decision applies to; do not label it “suitable for every night scene.”
With a limited budget, prioritize the correct versions for positions that matter most to the story. You can also reposition the character within a lit area compatible with an existing version. This reduces compositional freedom and needs agreement between art and scene direction. Do not simply bury the conflict in deeper shadows.
During review, identify the conflict instead of just saying it still looks like a sticker
Place all three versions against their corresponding backgrounds and review them at their actual display size. First set color differences aside and compare only the direction of the lit and shadowed areas. With the lamp at upper left, do the left forehead and shoulder receive the corresponding light? With the window on the right, is the nose shadow still incorrectly carried over from the warm interior version? Then review the color image and check whether a uniform tint has swallowed the distinctions between the coat, patch, and skin tones.
A useful revision note would be “The window version retains a strong warm highlight on the left shoulder, which conflicts with the specified weak warm light,” rather than “It doesn’t blend well.” If the entire silhouette is equally bright, identify which edges lack a supporting light source. Do not use a glowing outline around the whole body to conceal incorrect internal lighting.
This brief is intended for planning character sprites whose poses remain largely fixed. If the character turns their head, raises a hand to block their face, changes clothes, or enters a new cast shadow, the previous occlusion relationships may no longer hold. Recheck the affected areas. If the lighting already matches but the sprite still looks like a sticker, investigate edge softness, perspective, and visual texture separately. Do not attribute every compositing issue to nighttime color.